Photographing Orchids for Identification: Best Practices
Accurate identification of rare orchids relies heavily on visual detail. While detailed descriptions are helpful, a good photograph can often be the single most important factor in confirming a species. This guide outlines best practices for photographing orchids, ensuring your images capture the essential features needed for identification by yourself or experts.
Why Good Photos Matter
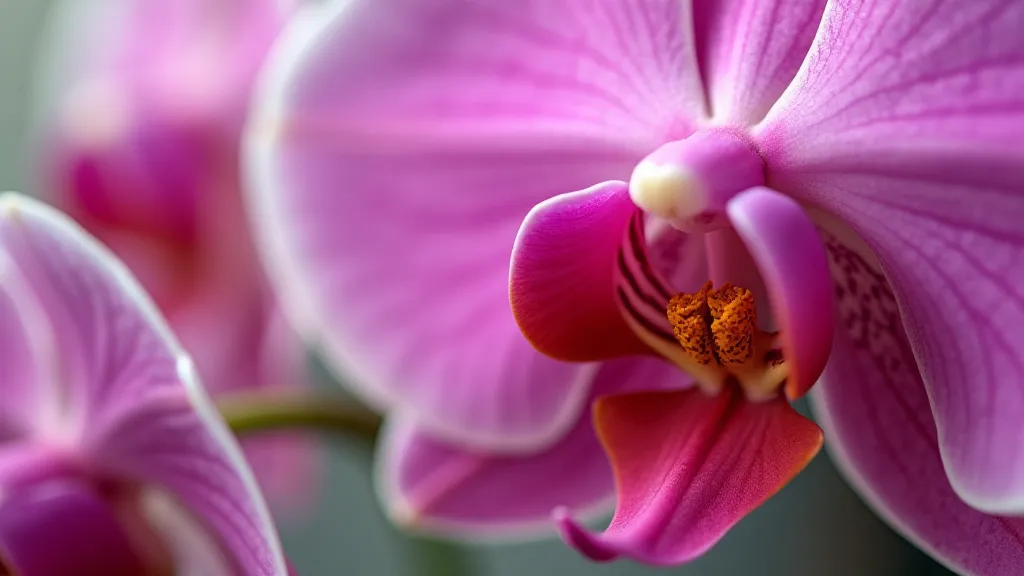
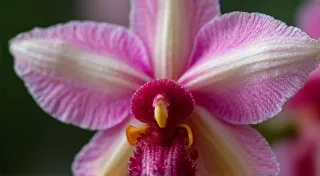
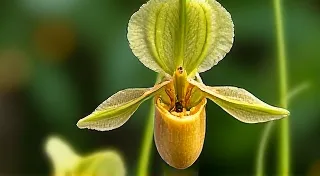
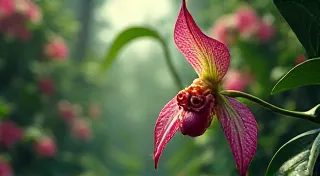
Rare orchid identification isn't always straightforward. Subtle differences can distinguish species, and these nuances are often best conveyed through photography. Poorly lit, blurry, or poorly composed photos can obscure these critical details, leading to misidentification. A clear, well-lit image allows for detailed observation of leaf shape, flower structure, color variations, and growth habit.
Essential Equipment (and What You Can Substitute)
While professional equipment can be advantageous, you don't *need* expensive gear to take good orchid photos. Here’s a breakdown:
- Camera: A smartphone with a decent camera is often sufficient. However, a dedicated camera (DSLR or mirrorless) offers more control over settings.
- Macro Lens (Optional): Macro lenses allow for extremely close-up shots, highlighting minute details. If you don’t have one, experiment with your smartphone's "macro" mode (if available) or try getting as close as possible while maintaining focus.
- Tripod (Highly Recommended): A tripod provides stability, preventing blur, especially when using slower shutter speeds.
- Reflector (Optional): Reflectors bounce light, filling in shadows and creating more even illumination. A piece of white cardboard or even a sheet of aluminum foil can serve as a makeshift reflector.
Lighting: The Key to Detail
Lighting is arguably the most crucial aspect of orchid photography for identification. Avoid harsh, direct sunlight, which can wash out colors and create strong shadows. Overcast days provide soft, diffused light. If photographing in bright sunlight, seek shade or use a diffuser. Consider the following:
- Natural Light is Best: Prioritize natural light whenever possible.
- Avoid Flash: Flash tends to flatten the image and distort colors.
- Manage Shadows: Use reflectors to bounce light into shadowed areas.
Photographing Techniques
Here are specific techniques to capture the detail needed for orchid identification:
- Shoot from Multiple Angles: Capture the orchid from the front, side, top, and bottom. This provides a comprehensive view of its structure.
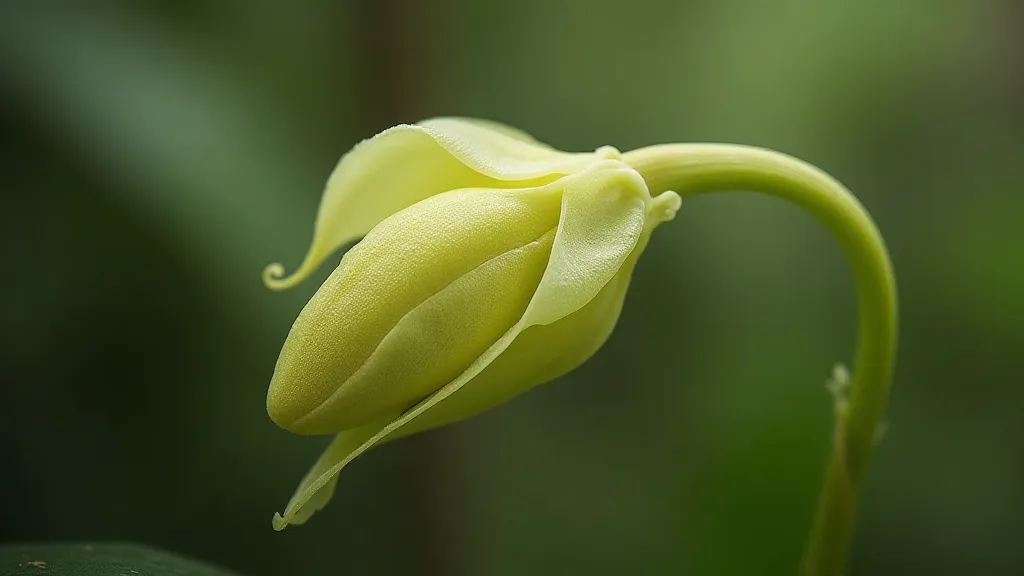
- Focus on Key Features: Ensure the critical areas (flower center, leaf margins, pseudobulbs) are sharply in focus. Multiple shots with slightly different focus points can be helpful.
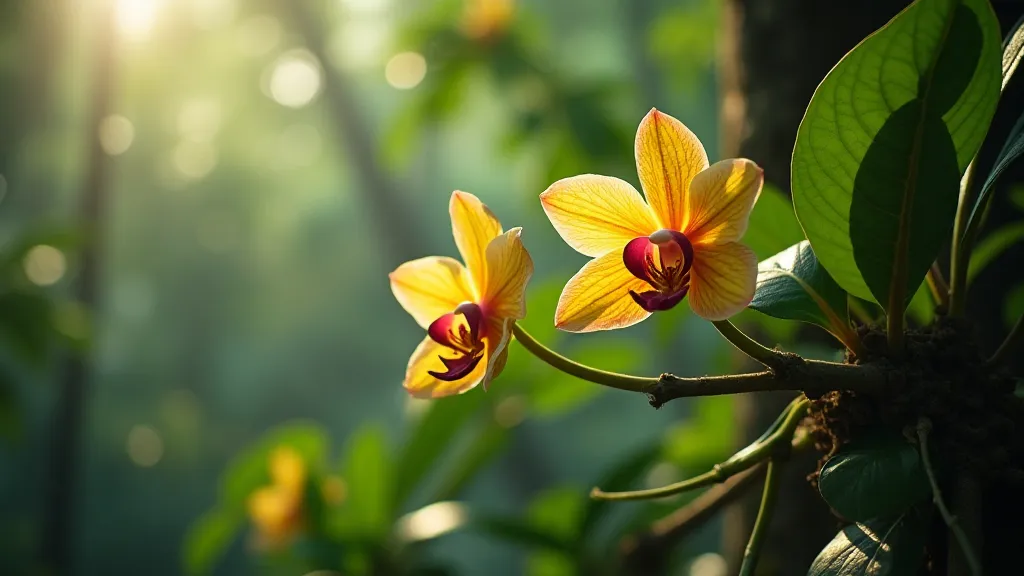
- Show the Entire Plant (if possible): While close-ups are essential, including a wider shot that shows the orchid's overall growth habit is valuable.
- Document the Habitat: Including a photo of the orchid in its natural environment can provide valuable contextual information.
Image Composition & Best Practices
Beyond technical aspects, thoughtful composition enhances the usefulness of your photos:
- Crop Carefully: Avoid distracting backgrounds. Crop the image to focus on the orchid itself.
- Straighten the Horizon: A tilted horizon can be distracting.
- Use a Scale (Optional): Including a ruler or coin in the photo provides a sense of scale.
- Capture Color Accurately: White balance settings are critical for accurate color representation. Experiment with different settings or edit the image later.
By following these guidelines, you can create orchid photographs that are invaluable for identification and contribute to our understanding of these fascinating plants.